Blog

  • Chillin Out Ice Cream – Kissimmee, Florida

    Chillin Out Ice Cream – Kissimmee, Florida

    Jody (@jjfoodking) and I are always exploring the Orlando food scene. I’m grateful that Jody is open to trying everything I share with him.

    I mentioned this ice cream shop, which has been around for many years in the Kissimmee area, so we decided to try this place out on a hot, sunny afternoon.

    The exterior of the ice cream shop is shaped like an ice cream cone, very similar to Twistee Treat but you can tell the difference.

    They offered a lot of selections. I went with their FLAVORBURST FLAVOR in TROPICAL ORANGE. Orange is my favorite fruit.

    For the complete menu, check out: http://chillin-out.com/ice_cream.htm

    This little spot is nice and the price wasn’t bad at all. Enjoy!


    Address: 1410 E Osceola Pkwy, Kissimmee, FL 34744

    Hours:

    Thursday 10:30AM–11PM
    Friday 10:30AM–12AM
    Saturday 10:30AM–12AM
    Sunday 10:30AM–12AM
    Monday 10:30AM–11PM
    Tuesday 10:30AM–11PM
    Wednesday 10:30AM–11PM
     
    Edited by Larnna Thompson
  • Spiki’s Java Adventure 2014 – Last Day

    Spiki’s Java Adventure 2014 – Last Day

    Time flew by so quickly and my trip is almost over.  I really enjoyed everything in Jakarta and it makes me want to come back again next year for even more new experiences.

    Joshua took me back to Mangga Dua for some quick shopping and breakfast.  This giant flea market has everything you need from food to clothing to electronics.

    My favorite iced tea now.

    One day I will try the BAJAJ Auto Rickshaw but a lot of the locals did not recommend it because it’s unsafe.


    We got a chance to check out a local event called Brightspot Market.  Our friend, Kendy, had a booth so we went in and checked it out.

    After that, it was time to meet with Natasha.  She was helping set up an interview for TTC.  Thanks for inviting me to hang out.

    Thanks Natasha, for making me some macarons.

    Finally it’s dinner time.  The place we went to was set up like an open buffet — you pay for what you eat.  They go by the honor system so based on how much you tell them you ate, that’s how much they will charge you for.  Don’t lie because these people will know.

    This kitty cat was just chillin’.

    The time came for me to pack and leave lovely Jakarta.  I would highly recommend that everyone check out this beautiful country with such rich culture and friendly people.  I will definitely be back!

    After 20+ hours of traveling, we landed safely back in the U.S.  Home sweet home.  See you next year, Indonesia!


    Edited by Larnna Thompson

  • Spiki’s Java Adventure 2014 – Padang Cuisine

    Spiki’s Java Adventure 2014 – Padang Cuisine

    Joshua wanted to surprise me with an Indonesian cuisine I had never seen before.  The Padang cuisine!

    In Indonesia, there are several different cultures and many different types of food from each island so I did a little bit of research on Padang food and found that it comes from the Minangkabau people of West Sumatra.

    It was a struggle to choose which ones to try because there was a huge selection.

    This is the ice kachang which looks similar to the Filipino halo halo.

    Thank you to Joshua for taking me to try this amazing food.  Hopefully, we’ll be back soon for more amazing food.


    Edited by Larnna Thompson

  • Spiki’s Java Adventure 2014 – UIC Unisadhuguna Day 2

    Spiki’s Java Adventure 2014 – UIC Unisadhuguna Day 2

    This is my second day at UIC Unisadhuguna.  They had a 3-day event for local artists.

    By the way, this is Josh, one of the funniest guys I’ve ever met in my life.  He’s such a cool dude and made sure I was well taken care of.


    This is the first time I saw the actual banner for this event.  Thanks UIC Design College!

    This is the Head of Campus for Unisadhuguna’s International Education, Aimee Sukesna.

    I brought some of my work to show all the students who came to this event.  Hopefully, I was able to inspire them.

    UIC invited 4 different high schools with students who are interested in majoring in art.

    Tamish Aswani, Creative Force Director for @Aglxyco, and his partner, Giorgi Krisno, are sharing their experiences with the students.

    We had a small contest to interact with the students.  We asked each of them to build their own brand and present it to us.

    Some of them had some really amazing ideas!

    Here, some of the students who made it to the final round of the competition, presented their ideas which gave them a chance to speak in front of an audience.  This definitely helped build their confidence and experience what it would be like to pitch an idea to a group of people.

    Our final winners!

    And of course, a group photo with all the students.


    Thanks UIC Design College staff.  Here, we are doing our best rendition of Tamish’s signature pose.

    We also did some dooddles on the school wall to leave our signature mark as a guest.


    Photo Credit: Unisadhuguna

    Website: UniSadhuGuna https://www.unisadhuguna.org/

    Address: Sequis Center Mezzanine Floor, Jl. Jenderal Sudirman Kav. 71, RT.5/RW.3, Senayan, Kebayoran Baru, RT.5/RW.3, Senayan, Kby. Baru, Kota Jakarta Selatan, Daerah Khusus Ibukota Jakarta 12190,

    Indonesia Phone #: +62 21 5264332


    Edited by Larnna Thompson


  • La Hacienda de San Angel – Walt Disney World

    La Hacienda de San Angel – Walt Disney World

    This weekend, we planned another Mickey Mouse adventure with my colleagues.

    They wanted to have a new dinner experience and chose to eat at La Hacienda de San Angel, located in Epcot’s Mexico Pavilion.

    I don’t typically eat a lot of Spanish food but I’m always up for trying something new.  

    The outside of the restaurant looks like a Mexican ranch.

    Here, we’re doing some homework before we make our reservation.

    I’ve passed this place so many times before and had never gone in so I was completely surprised by the interior and size of the restaurant.

    The menu was very detailed with different textures.

    We started out with a simple appetizer, the Queso Fundido. This dish was delicious and had melted cheese with chorizo. Personally,  I’m not a huge cheese fan, but I really liked this one a lot, mixed with fresh warm flour tortillas.

    We also had some fresh made nachos that were served with 2 different dipping sauces. The red sauce was a little bit spicy.

    Gisela ordered the Taquiza, which was a taco sampler featuring grilled chicken, grilled steak, and pork Chilorio. It looked so yummy!

    Chazelle ordered the Tacos de Camarones, which was a fried shrimp taco. The quality and size looked really good.

    I wanted to try something new and ordered the Costillas en salsa de Chile. I really enjoyed the braised short ribs. They were so soft and looked like pulled pork. You can make mini tacos with rice, beans, nachos, and flour tortillas. I loved every single bite.

     Overall, it was a good day with good frienss. In my blog, I share a lot about my journey and I feel that the most important parts are enjoying a great meal with friends or exploring something new.

    I guess with food adventures, you have to open up your mind and allow yourself to try something new, otherwise you could miss out on some really delicious food.

    For more information and to make reservations, you can check out the Disney App or the link below:

    https://disneyworld.disney.go.com/dining/epcot/hacienda-de-san-angel/

    Address: 2101 Epcot Resorts Blvd, Orlando, FL 32830

    Phone #: (407) 939-3463


    Edited by Larnna Thompson

  • Spiki’s Java Adventure 2014 – UIC Unisadhuguna Day 1

    Spiki’s Java Adventure 2014 – UIC Unisadhuguna Day 1

    Afte a very busy day at Popcon Asia, I was able to talk at an event with a local college, UIC Unisadhuguna.  The school, in collaboration with Popcon Asia, wanted to give students an opportunity to participate in a creative event with a local speaker and share some of their ideas and experiences.

    I was honored to speak with local designer and artist, Untung Wang.  Untung was also a lecturer at UIC, sharing his design experience with clients.

    I was so excited and nervous because it was my first international speaking event, but luckily they gave me a very big welcome.

    There was also a Q&A session.

    Thank you to UIC for preparing a small gathering after the class so we could have some time to network and chat.

    I love meeting new people and hearing their stories.

    I’m truly thankful for Joshua and Grace for allowing me the opportunity to share my knowledge with UIC Unisadhuguna.  This experience was such a memorable time in my life.


    Edited by Larnna Thompson

  • 5 Halloween Treats to Make With Your Kids

    5 Halloween Treats to Make With Your Kids

    Ah, fall. The time of year when you can unashamedly display your fall-inspired tree and all the pumpkin-related decorations you’ve secretly had on hand as soon as Memorial Day ended.

    Despite how hot it is in some places, and the sweltering heat index feeling like you’re sitting on the surface of the sun, one way to really embrace the fall season, is spending time with family, especially the kiddos.
    Whether it’s the obligatory corn maze or picking out the perfect pumpkin to carve, making some delicious treats can really “fall” it up and give you a reason to bust out that sweater that’s been hanging in your closet for the past few months (even if you end up taking it off 5 minutes later).
    I’ve compiled 5 Halloween treats that are sure to get you and the kids excited about going door to door, asking for king sized chocolate bars instead of pennies. And let’s be honest, you don’t want to be the house that gives out pennies on Halloween.
    The first Halloween treat is a simple but somewhat healthy one — White Chocolate Dipped BOO-nanas. Who doesn’t like anything dipped in chocolate? The supplies you’ll need to make these ghosts come alive, are:
    • Bananas
    • White chocolate candy coating
    • Black icing
    • Lollipop sticks


    Once you peel the banana, you can cut it in half to make two ghosts. Next, you’ll insert the stick into the banana where you’ve sliced it
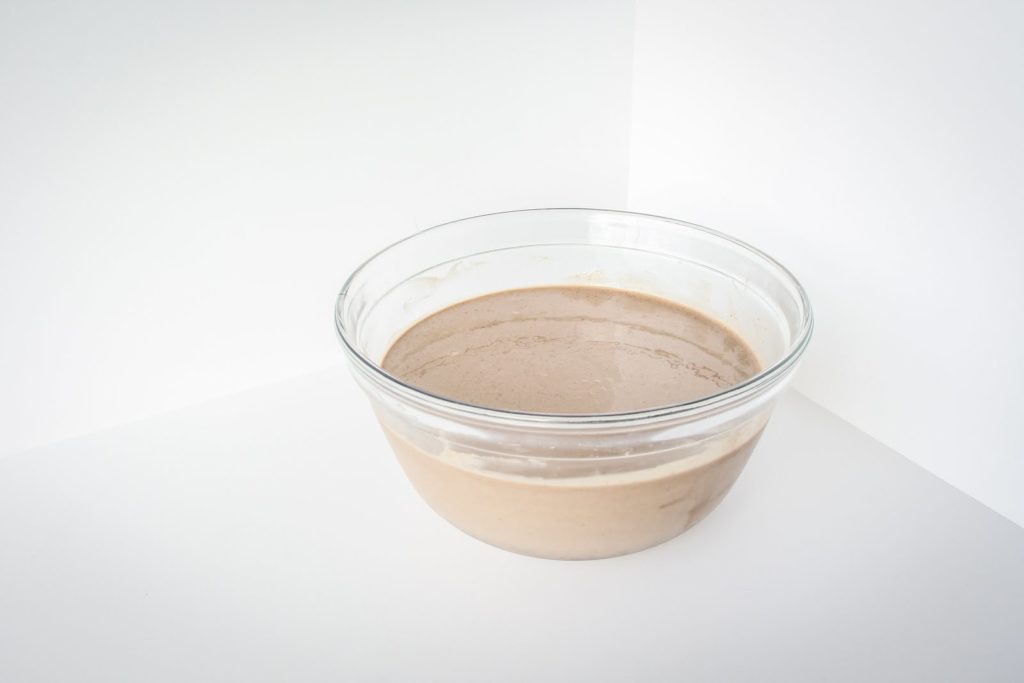
    You can go ahead and put the bananas, with the sticks inserted, into the refrigerator to allow them to harden a bit. You shouldn’t need to leave them in there for more than 10-15 minutes. Meanwhile, remove the white chocolate candy coating from its packaging, place it into a microwaveable bowl, and put it in the microwave for the amount of time listed on the package.
    Once you’ve removed the now melted white chocolate, use a spoon to mix it a few times, to smooth it out any chunks of chocolate or air bubbles there may be.
    You can now remove the bananas from the fridge and begin dipping them into the melted chocolate.
    When you’ve generously coated the bananas with the white chocolate, you can again place them into the fridge to allow the chocolate to harden. Again, you shouldn’t need to leave the bananas in the fridge for more than 10-15 minutes.
    Take the bananas out of the refrigerator and with the black icing, make two circles for the eyes and if you’d like, one circle for the mouth.
    There you have it! Your BOO-nanas are complete and ready to eat!

    The second recipe is the Rice Kreepy Pumpkins. Ok, so they’re not as “kreepy” as they are cute.  For me, Rice Krispies treats are nostalgic of my childhood so I thought this would be a fun one to make with the kids, despite how messy it can get.  Sometimes it’s good to get a little messy!  The supplies you’ll need, are:

    • 1 box of Rice Krispies treats
    • Jet-Puffed mini marshmallows
    • Yellow food coloring
    • Red food coloring
    • Reese’s mini peanut butter cups
    • Green sugar sprinkles
    • Food-safe scissors


    Following the instructions on the Rice Krispies treats box, you’ll want to take 3 tbsps of butter and place it into a heated pan, along with 4 cups of mini marshmallows.
    Once the butter and marshmallows have been combined and completely melted, this is where you’ll start putting in the yellow and red food coloring to create the orange color for the pumpkins.  You can add as much or as little food coloring to achieve the desired shade.  You could even make them purple if you wanted to.  Whatever the kiddos decide, this treat is sure to be a hit!
    Once you’re done adding the food coloring, remove the pan from heat, and pour the Rice Krispies treats in.  Be sure to mix until the melted butter/marshmallow is combined with the Rice Krispies treats.
    To avoid having the Rice Krispies mixture stick to my hands, I sprayed a little bit of non-stick baking spray onto both of my hands and started to roll them into the shape of a pumpkin.
    When you’ve rolled out as many pumpkins as you like, you can use the remaining mini marshmallows to create the pumpkin leaf.  I took food-safe scissors and cut the marshmallow diagonally, exposing the inside/really sticky part of the marshmallow.  I then rolled the cut marshmallow in green sugar sprinkles to coat it.
    Now it’s time to “assemble” our pumpkins!  Take one of the mini Reese’s and gently press it down on top of each pumpkin.  Next, place the marshmallow leaves next to the mini Reese’s.
    You now have completely edible pumpkins!
    Now that the kids are hopped up on artificial sugar, let’s take it back to being somewhat healthy with a bit of nature’s sugar and a tiny twist on the candied apple.  The third treat is Vampire Teeth.  The supplies you’ll need are:
    • Salted caramel (any way to incorporate salted caramel, I’m all in!)
    • Jet-Puffed mini marshmallows
    • Apples
    • Knife


    After washing the apples, you’ll want to cut them into slices.  You can get about 6 or 7 slices from one apple depending on the size of the apple and how thick you cut the slices.  I used the odd numbered apple slice to cut out small triangles, which will be the vampire fangs.


    Every two slices of apple will be used as the top and bottom of the vampire’s mouth.  I then spread salted caramel on the apple slices, which is not only delicious, but acts as an adhesive for the vampire’s fangs and teeth.


    To assemble the vampire teeth, you’ll line up the mini marshmallows and insert the apple fangs in between the marshmallows.
    And there you have it!  Vampire teeth so scary, it’ll make you think of Robert Pattinson or Tom Cruise (Interview with a Vampire, circa 1994).

    To kinda segue into a salty sweet treat, the next recipe is Frankenstein Fingers!

    This is another easy recipe and if you have white chocolate leftover from the BOO-nanas, you can use it again for this yummy treat.  The supplies you’ll need, are:
    • White chocolate candy coating
    • Pretzel rods
    • Green food coloring
    • Dry Roasted Shelled Pepitas (aka salted pumpkin seeds)
    • Parchment paper
    • Baking sheet and/or cooling rack


    To melt the white chocolate candy coating, place it into a microwaveable bowl, and put it in the microwave for the amount of time listed on the package.

    When the chocolate is melted, add the green food coloring.  You can add as much or as little food coloring as you’d like to achieve the shade of green you prefer.
    On a baking sheet, with a cooling rack if you’d like, place a sheet of parchment paper on it.  After coating the pretzel rods with the melted chocolate, lay them down on the parchment paper to dry.  While they’re laying on the parchment paper, place the pumpkin seed at the tip before it completely dries.  Now your fingers have fingernails!
    These salty sweet snacks are now ready to chow down on!
    The last recipe on this crazy Halloween treat-making train are the Halloweenie Cupcakes!  Cupcakes are easy to make and allow you and your kids to get super creative.
    For this recipe, I took the same ingredients you would use to make a Heath Bar Cake, minus the chopped up Heath bar bits, and made cupcakes out of them.  (Side note: If you haven’t tried a Heath Bar Cake, it’s rich, delicious, and probably super bad for you, but we stopped counting calories once fall started, right?)
    The Heath Bar Cake recipe actually calls for whipped cream instead of icing or frosting, which I like because icing or frosting can tend to taste really sugary whereas I feel like whipped cream, doesn’t taste as sweet and can break up the sweetness of everything else.  The supplies you’ll need, are:
    • 1 box of German Chocolate cake mix
    • Eggs
    • Water
    • Vegetable oil
    • Cupcake liners
    • Cupcake or muffin baking tin
    • Fork
    • Caramel flavored topping
    • Condensed milk
    • Oreos
    • Milano double dark chocolate cookies
    • Cool Whip
    • Orange icing (or any color icing you prefer)
    • Black icing
    • Various sprinkles and sugar sprinkles
    • Cupcake toppers (optional)


    Following the instructions on the German Chocolate cake mix box, you’ll want to put the cake mix, eggs, water, and vegetable oil into a bowl, then use a mixer or hand mixer to fully combine all of the ingredients together.


    Preheat the oven to the temperature listed on the cake mix box.  Meanwhile, spoon the combined cake mix into each cupcake liner, filling them up about 2/3 of the way.
    Place the baking tray into the oven and allow them to bake for the time recommended on the cake mix box, but keep an eye on it because the cake mix bakes pretty quickly.  I always use the toothpick technique to check if the cake or cupcakes are fully baked.  When I pull the toothpick out and see that there’s no cake sticking to it, that tells me it’s done.
    While the cupcakes are still warm, take a fork and make multiple holes on top of some of the cupcakes.  The ones that have fork holes will be the ones that you’ll put caramel and condensed milk on, which will absorb into the cake through the holes.
    You can leave the rest of the cupcakes as is, without holes or caramel/condensed milk, and those will be the ones you can decorate with the icing or frosting of your choice.
    For the cupcakes with holes and caramel/condensed milk, I spread whipped cream on top.  And for the rest of the cupcakes, I put orange icing.
    Now comes the fun part — DECORATING!!!  This is when you can let your creative side run wild.  I used crushed up Oreos as dirt and a Milano cookie as a tombstone; sprinkles for color contrast and as monster eyes and spider eyes; and Meri Meri Halloween-themed cupcake toppers I found at Home Goods (gotta love Home Goods) for a little bit of added spookiness.
    These cupcakes are the perfect addition to any Halloween party dessert bar!

    I hope you and your kids enjoy making these recipes.  Wishing you all a wonderful fall season and a very Happy Halloween!


    Written by: Larnna Thompson (@dessertforyoursenses)


    Photos by: Larnna Thompson (@dessertforyoursenses)


    Photos edited by: Jason Cordoba (@jcordobaphotos)
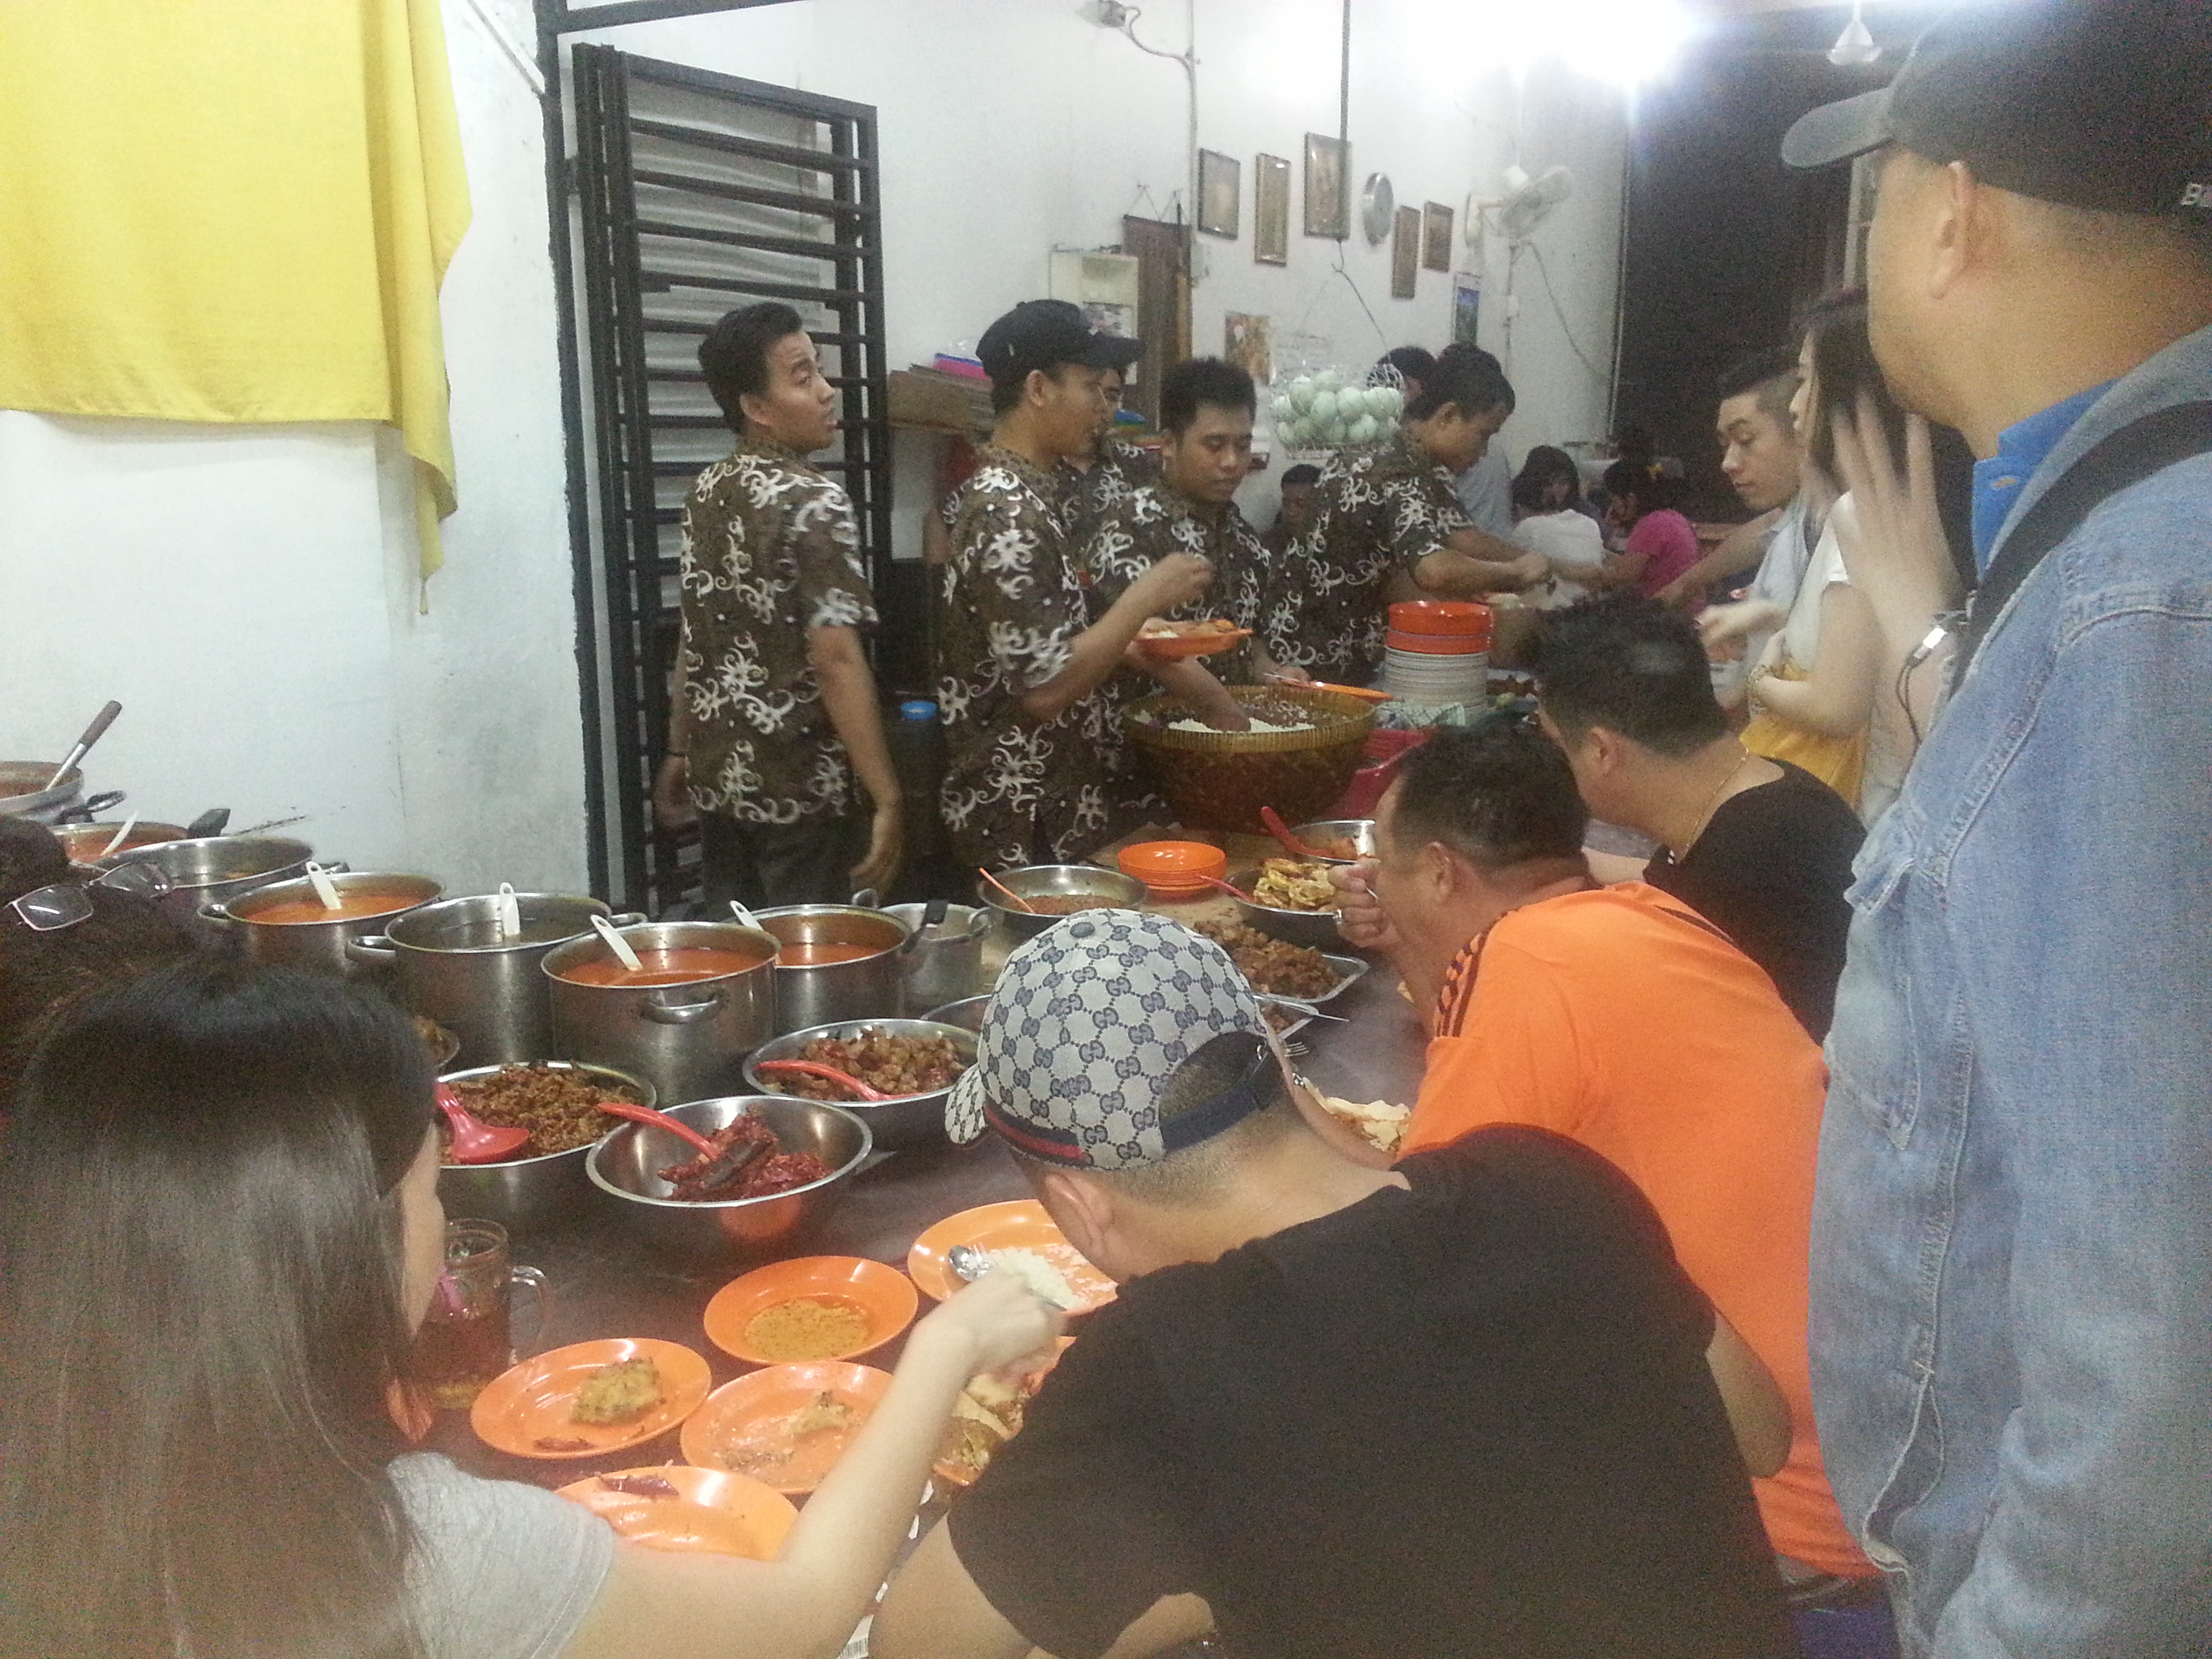
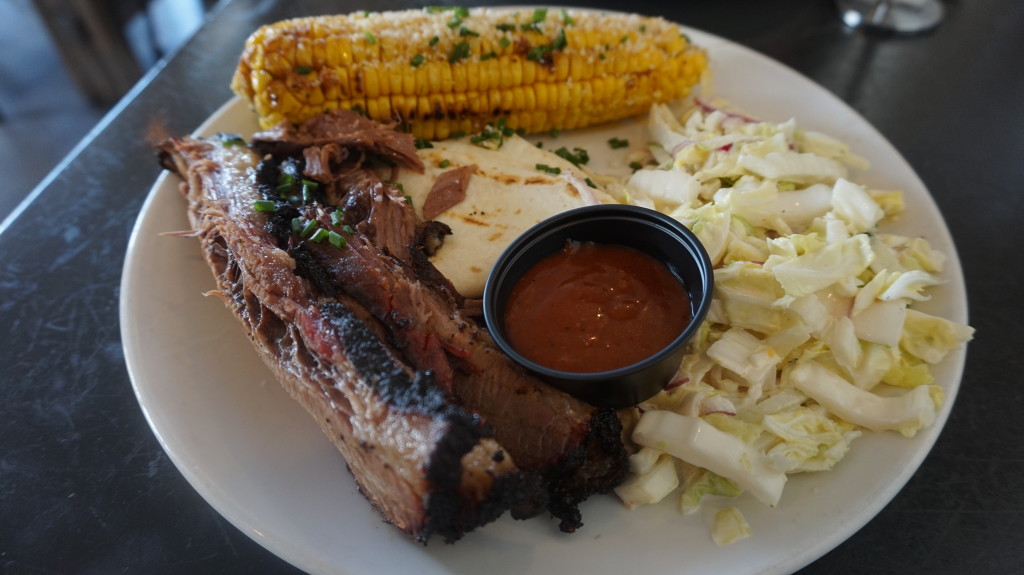
  • Maihiro x Kidrobot‏ Full Sail’s Annual Spring Break CE Conference‏‏‎.

    Maihiro x Kidrobot‏ Full Sail’s Annual Spring Break CE Conference‏‏‎.

    Thank you so much to Kidrobot SF and Full Sail University for this amazing opportunity, allowing us to share our brand and supporting local culture and designer toys.

    This is the first time Mai Hiro has been part of a workshop so we were super excited about this event.

    This event gave 30 staff and faculty members the opportunity to create their own custom Kidrobot Munny during a hands-on art workshop. Thank you to everyone who attended.

    Our attendees had one hour to come up with an idea and a concept using the art supplies we provided, such as markers and acrylic paint. Our goal was to have people explore their creative side while being being hands-on.

    I was able to share my 20 inch Ninja Spiki Dunny and production Ninja Spiki Dunny from series 12.


    Some of the attendees enjoyed coming up with their own concept and some people asked questions about how they can do it at home.

    I asked everyone to sign my 20 inch Munny so that I can look back at it and remember what an awesome event it was.

    I really enjoyed teaching people about a new art medium.

    Thanks Korena/KidrobotSF for sponsoring this event.

    Photo by: Steve Parker

    For more info, check out: http://www.fullsailblog.com/maihiro-co-founders-lead-kidrobot-art-workshop-for-faculty


    Edited by Larnna Thompson

  • Pig Floyds Urban Barbakoa – Orlando, Florida

    Pig Floyds Urban Barbakoa – Orlando, Florida

    I’m huge fan of BBQ so when I heard about this place from many of my friends, I knew I had to check it out.  Plus, I wanted to support the owner,  Thomas Ward, and taste his brand new creation.

    My friend, Larnna, and I went to Pig Floyds Urban Babakoa for lunch one day to see what everyone was talking about.

    One of my beliefs is that the branding of a company is part of the overall experience and one of the reasons why it’s so important.  Being an artist, I really pick up on the environment in addition to the the food.

    Pork Belly Taco

    Oakwood Smoked Brisket, Apple Fennel Slaw, and Grilled Corn On The Cob

    I really enjoyed the flavors a lot and did’t need to add any extra BBQ sauce.  This place is different and fresh, and definitely worth checking out.

    Address: 1326 N Mills Ave, Orlando, FL 32803

    Phone: (407) 203-0866

    Hours: 11:00 AM – 10:00 PM


    Edited by: Larnna Thompson